
Chocolate Spider Cookies

These chocolate spider cookies are a fun Halloween dessert that kids and grown-ups both notice on the table. They start with a rich chocolate cookie and get their spooky look from simple spider decorations.
This post may contains affiliate links. If you click and make a purchase, I may earn a small commission at no extra cost to you. I only recommend products I personally use or genuinely believe in. Thank you for supporting 100 Perfect Gifts.
Why You’ll Like This Recipe
- Made with familiar ingredients.
- Comforting and right for fall.
- Simple enough for an everyday recipe.
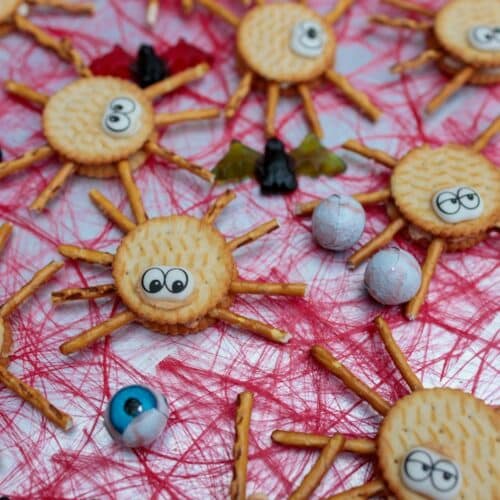
Chocolate Spider Cookies

Fudgy chocolate cookies decorated with simple chocolate spider bodies and candy eyes.
Equipment
1 Mixing bowl and standard kitchen equipment
Ingredients
- ½ cup butter softened
- ½ cup brown sugar packed
- ⅓ cup granulated sugar
- 1 egg
- 1 tsp vanilla extract
- 1 cup all-purpose flour or Sunrise flour if preferred
- ⅓ cup unsweetened cocoa powder
- ½ tsp baking soda
- ¼ tsp salt
- 18 chocolate truffles or round chocolate candies
- 36 candy eyes
- ¼ cup melted chocolate for spider legs
Instructions
- Heat the oven to 350°F and line a baking sheet with parchment paper.
- Beat the butter and sugars until creamy. Beat in the egg and vanilla.
- Whisk the flour, cocoa, baking soda, and salt, then mix into the butter mixture.
- Scoop tablespoon-size balls of dough onto the baking sheet and bake for 8 to 10 minutes. While warm, press one round chocolate candy into the center of each cookie.
- When cool, use melted chocolate to pipe four little legs on each side of the candy and attach two candy eyes.
Notes
Let the cookies cool before piping the legs so the chocolate decorations stay neat.
Tried this recipe?Let us know how it was!
Serving and Storage
Let the cookies cool completely before decorating so the chocolate details stay put.